
Check out our mini course on how to write faster
I've copy edited hundreds of thousands of articles in the last decade, and since many of our readers have to edit written work as part of their responsibilities, I thought I'd share my editing flow.
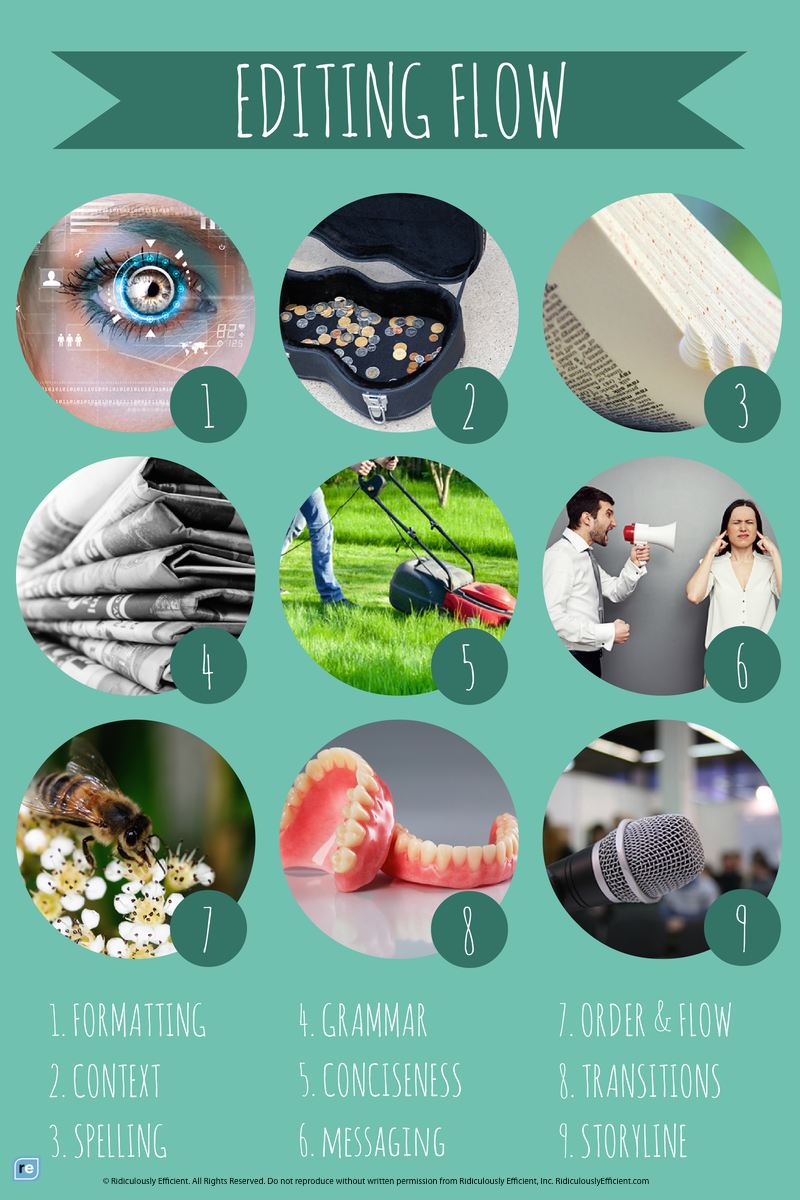
Here's how each step shakes out:
1. Formatting
Scan the document, evaluate the intended format and double-check for consistency.
- Line Breaks: Should there be full line breaks between paragraphs, or just indents?
- Spacing: Is the spacing after punctuation consistent? (I do a Find-and-Replace to ensure there's just one space after a sentence rather than two.)
- Lists: If the document has a list, is the list comprised of clauses (no ending punctuation) or sentences (each ends with a punctuation mark)?
- Curly Quotes: Much of my work is blog posts that go online, so I replace "smart" quotes (curly quotation marks) with straight quotes using a text editor so that they don't yield funky formatting on the Web. (I'll have a separate tutorial on this.)
2. Context
Determine the audience and purpose for the piece. I combine this step with #1 in my actual workflow, but it's important enough to call out in a separate step here.
Use the intended audience and purpose to help guide the voice, tone and language used. For example, a press release will have far more formal language than a blog post, which will have far more precise language than a personal email to a buddy.
3. Spelling
Correct obvious spelling mistakes by reading from the bottom up. Since in the last step, I scanned the piece from top to bottom, for this step, I'll read the piece backward, from bottom to top.
Forcing your eyes to travel backwards -- from right to left and from the end to the beginning -- minimizes your chances of missing a spelling error. Humans are excellent pattern recognizers, and when we're rereading a post, it's easy to skip over a spelling error by confusing the writer's intent with what the writer actually wrote.
4. Grammar
Read the piece aloud to yourself, listening for stumbles or awkward phrasing. You don't need to be a grammarian to know when something just sounds funny. Reading the piece out loud makes grammar errors simple to spot. It also helps you identify run-on sentences and awkward phrasing. Which brings me to...
5. Concision
Use only as many words as you need. Delete repetitive phrasing. Check out these steps to shorten your emails for an in-depth guide, but here are a few easy edits to make:
Remove redundancy.
"End result" becomes "result." "Free gift" becomes "gift." "Personally, I would..." becomes "I would..."
Remove unnecessary intensifiers:
Really Truly Severely Very Exceptionally
Rephrase "There is/There are" sentences. Expletive constructions, the official name for these sentences, are lame at best.
Note the energy difference when you eliminate the "There is/There are" and add in a stronger verb:
Original: There are six days until my vacation. Edited: Six days until I embark on my vacation.
You can also use this editing trick to add subtle nuance by picking effective verbs:
Original: There is a spider in my room. Edited: A spider looms in my room. A spider lurks in my room. A spider sleeps in my room. A spider hides in my room.
6. Messaging
Ensure every sentence contributes to the overall goal for the piece. Once you've pared down the prose, you can focus specifically on the messaging.
How should the reader feel while reading this piece? How about after reading the piece?
Are you hoping to trigger a specific emotion? If so, does the language in the piece evoke that emotion?
What is the reader supposed to do after reading the piece? Do you have a clear call to action?
7. Order and Flow
Does it make sense for the piece to flow in this order? Sometimes the most effective parts of a piece are buried in the middle. Or perhaps the last line of the first paragraph would actually be more powerful if it appeared at the end.
If it's an important piece that I have some time to work with, I open up a blank document and start rearranging the existing text. Then I'll read it aloud and see if it flows better my way.
If I don't have time for that, I'll sketch out the gist of each paragraph on a whiteboard or a piece of paper to create an informal skeleton. It could look something like this:
- Framing questions
- Introduce blog post topic
- Why it matters
- Next steps and actions for reader
- Summarize benefits
- Open-ended question
8. Transitions
Do the paragraphs relate to each other? A good written piece flows. Using the framework above, I make sure the last line of each paragraph flows smoothly into the first line of the next one.
If it's hard for me to make transitions between concepts, I know that my order and flow are out of whack, or I need to add some headers and/or subheaders instead of a smooth segue.
9. Storyline
Reread the full piece from start to finish. Does the overall piece tell a story? Does it have a beginning, middle and end?
If I have the luxury of time, I perform the previous steps, take a break, and then return to perform this final step so that I can replicate "fresh eyes."
Conclusion
At first glance, this may look intense and time-consuming. Once you get the hang of it, though, you'll get faster and better at editing, which in turn helps you produce higher-quality work.